
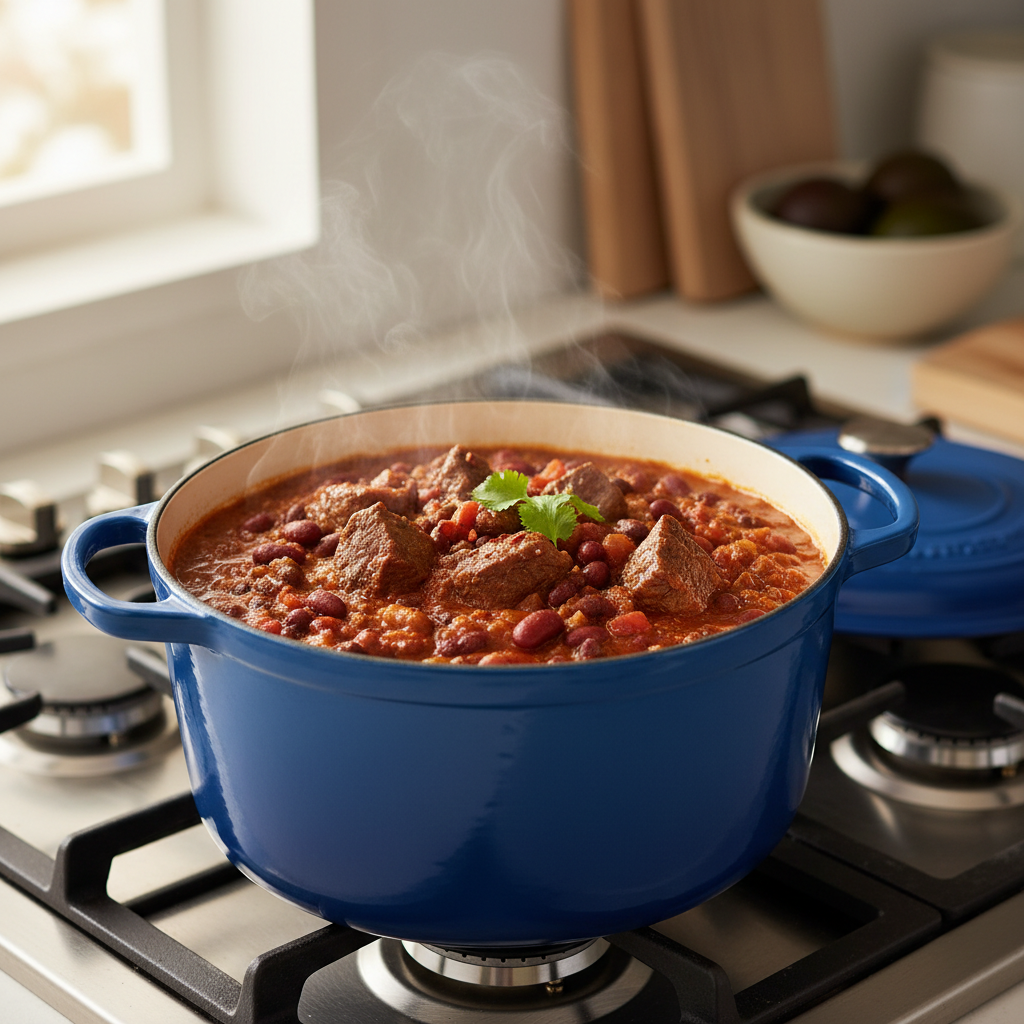
Chili recipe simple is usually code for one thing: you want a big, hearty pot that tastes like it cooked all day, without actually spending your whole evening babysitting the stove. This version leans on smart shortcuts, solid seasoning, and a method that keeps the beef tender and the chili thick.
If you’ve ever made chili that turned out watery, bland, or weirdly greasy, you’re not alone. Most issues come down to a few fixable moves: how you brown the meat, when you add spices, and how long you simmer uncovered.
Below you’ll get a reliable base recipe, plus options for heat level, bean choices, and make-ahead tips, so you can cook once and eat well for days.
What makes this a “simple” chili (without tasting simple)
Simple doesn’t mean skipping flavor, it means choosing the steps that actually matter. In this pot, the payoff comes from three things: browning, blooming spices, and a short simmer that reduces.
- Browning the beef builds deep savory flavor, if you crowd the pan, you steam it instead.
- Blooming spices in a little fat wakes them up, adding them straight into liquid often tastes flatter.
- Uncovered simmer thickens naturally, no mystery thickeners needed unless you want them.
According to USDA Food Safety and Inspection Service, ground beef should reach 160°F for safety, so if you’re unsure, a quick thermometer check keeps things stress-free.
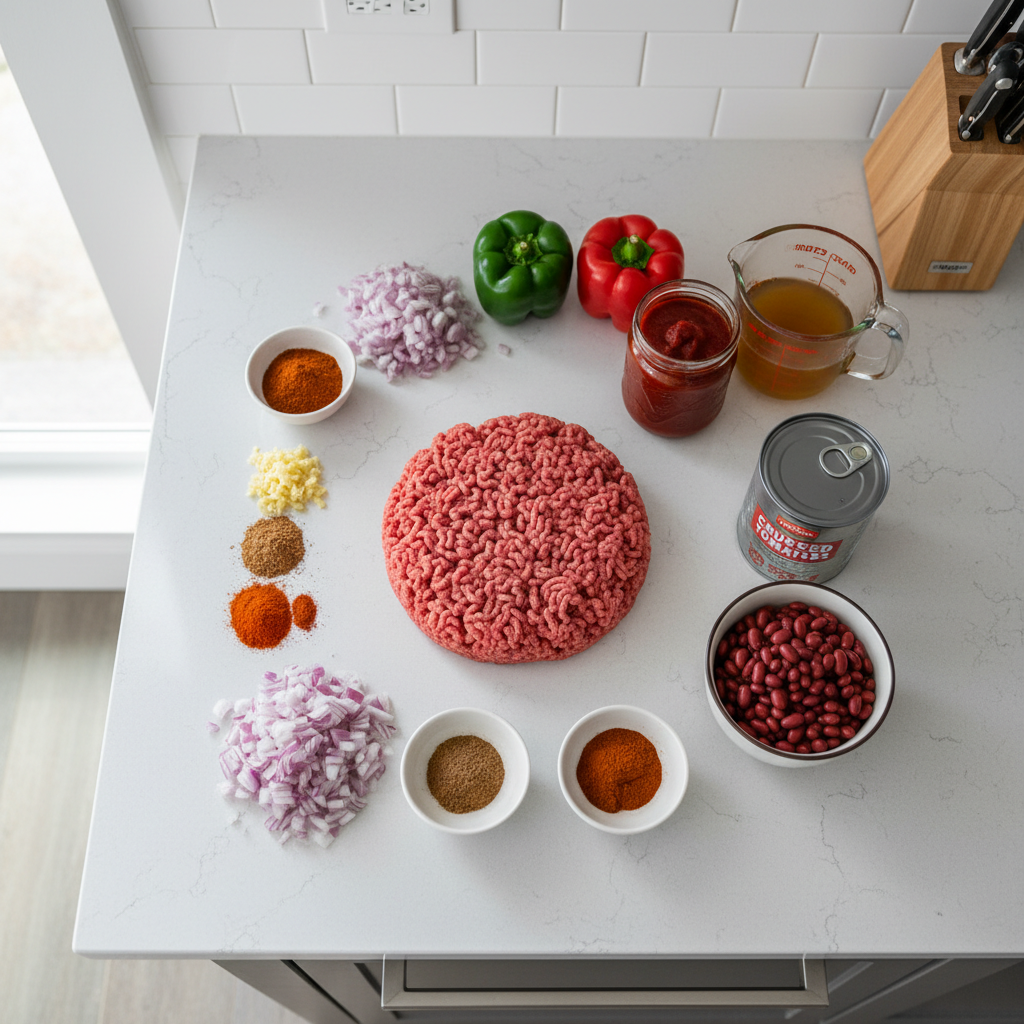
Ingredients (base pot) + easy substitutions
This makes a hearty weeknight batch, about 6 servings, depending on bowl size and topping enthusiasm.
Base ingredients
- 2 tbsp neutral oil (or use rendered beef fat if you drain lightly)
- 1 large yellow onion, diced
- 1 green bell pepper, diced (optional but classic)
- 3–4 garlic cloves, minced
- 2 lb ground beef (80/20 gives the richest result)
- 2 tbsp chili powder
- 2 tsp ground cumin
- 1 tsp smoked paprika
- 1–2 tsp kosher salt, to taste
- 1/2 tsp black pepper
- 2 tbsp tomato paste
- 1 (28 oz) can crushed tomatoes
- 1–1 1/2 cups beef broth (start with 1 cup)
- 2 (15 oz) cans beans, drained and rinsed (kidney, pinto, or black)
- 1 tbsp brown sugar (optional, balances acidity)
- 1–2 tsp vinegar or lime juice at the end (brightens)
Flavor add-ons (pick one or two)
- 1 chopped chipotle in adobo for smoky heat
- 1 tsp oregano for a slightly herby backbone
- 1/2 tsp cinnamon for a subtle warmth (don’t overdo it)
Step-by-step: chili you can’t really mess up
This method is built to be forgiving, but there are two moments to pay attention: browning and simmering.
1) Brown the beef the right way
- Heat a large heavy pot over medium-high, add oil.
- Add beef in a single layer, don’t stir for 2–3 minutes so it actually browns.
- Break up, cook until no pink remains, then drain excess grease if needed.
2) Soften the veg, then bloom the spices
- Add onion and bell pepper, cook 4–6 minutes until softened.
- Add garlic, cook 30 seconds.
- Stir in chili powder, cumin, smoked paprika, salt, pepper, cook 30–60 seconds.
3) Build the base and simmer uncovered
- Stir in tomato paste, cook 1 minute to take the raw edge off.
- Add crushed tomatoes and 1 cup broth, scrape up browned bits.
- Stir in beans and optional brown sugar.
- Bring to a gentle simmer, then reduce heat to low.
- Simmer 25–45 minutes uncovered, stirring occasionally, add more broth if it gets too thick.
4) Finish for balance
- Taste, adjust salt and heat.
- Add vinegar or lime juice right at the end for lift.
If you want the most weeknight-friendly version, this chili recipe simple also works in a slow cooker: brown beef and bloom spices on the stove, then dump everything in and cook on low 4–6 hours.
Quick troubleshooting: why chili goes wrong (and what to do)
Most “bad chili” isn’t ruined, it’s just out of balance. Here are the common fixes.
- Too watery: simmer uncovered longer, or mash a small spoonful of beans into the pot to thicken.
- Too acidic: add a pinch of sugar, or more beans, then re-check salt.
- Tastes flat: it often needs more salt, or a splash of vinegar/lime at the end.
- Too spicy: add extra beans or a little dairy topping when serving, avoid adding more tomatoes unless you’re okay with extra acidity.
- Greasy: drain beef after browning, then keep simmer gentle, not a rolling boil.
Heat level, beans, and texture: a simple decision table
Use this as a quick guide when you want to tweak the pot without overthinking it.
| Goal | What to change | What to expect |
|---|---|---|
| Milder chili | Skip cayenne, use mild chili powder, add extra beans | More mellow heat, still hearty |
| Smoky and medium-hot | Add chipotle in adobo or smoked paprika + jalapeño | Deeper flavor, lingering warmth |
| Thicker bowl | Less broth, longer uncovered simmer, mash beans | Spoon-coating chili, great for toppings |
| More “meaty” | Use 2 lb beef and only 1 can beans | Richer, heavier, higher cost per pot |
| Brighter flavor | Finish with vinegar or lime, add scallions | Less heavy, cleaner finish |
Serving, storage, and make-ahead tips that actually help
Chili is one of those meals that often tastes better the next day, once the spices settle in.
Toppings that pull the bowl together
- Shredded cheddar or pepper jack
- Sour cream or Greek yogurt
- Diced onion, scallions, cilantro
- Pickled jalapeños
- Crushed tortilla chips or cornbread on the side
Storage and reheating
- Cool quickly, then refrigerate in airtight containers.
- Reheat on the stove over medium-low with a splash of broth if thick.
- Freeze in portion containers for quick lunches; texture usually holds up well.
According to CDC, leftovers should typically be refrigerated within about two hours, and if your kitchen runs hot or the pot sits out, it’s smarter to portion and chill sooner.

Key takeaways (save this for later)
- Brown first, crowded beef turns steamy and bland.
- Cook spices in fat for 30–60 seconds before liquids.
- Simmer uncovered to control thickness without weird tricks.
- Finish with acid for a chili that tastes “done,” not heavy.
- This chili recipe simple is flexible, but salt and simmer time matter more than fancy add-ins.
Conclusion: a hearty pot you can repeat anytime
A dependable chili doesn’t need a long ingredient list, it needs a few good decisions and enough simmer time to let everything come together. If you cook the beef until browned, bloom the spices, and finish with a little acidity, you’ll get a hearty bowl that holds up for leftovers and freezes well.
Tonight’s action plan: make the base pot as written, then pick one tweak from the table, either smoky heat or a thicker texture, so you learn what “your” chili tastes like.
FAQ
What’s the easiest way to make chili thicker without flour?
Keep the lid off and simmer longer, that reduction usually does the job. If you’re still not happy, mash a small scoop of beans into the pot, it thickens without changing the flavor much.
Can I make this chili recipe simple with turkey instead of beef?
Yes, ground turkey works, but it can taste lighter. Add a touch more spice and don’t skip blooming the seasonings, that step helps turkey taste less bland.
Do I have to use beans in beef chili?
No, it’s preference and sometimes regional. If you skip beans, you may want a bit more tomatoes and broth to keep the pot balanced, and you’ll likely need to watch salt closely.
How spicy is this recipe as written?
Moderate-to-mild in many kitchens, assuming standard chili powder. Heat varies by brand, so start conservative, then add cayenne or chipotle at the end if you want more kick.
Why does my chili taste bitter?
Common culprit is spices scorched in a too-hot pot, or garlic cooked too long. Keep heat at medium when blooming spices, and add garlic right before the seasonings so it doesn’t burn.
Can I cook chili in a slow cooker only?
You can, but browning first gives better flavor. If you truly need dump-and-go, the chili will still be fine, just expect a slightly flatter taste and plan to reduce or thicken at the end.
How long does homemade chili keep in the fridge?
It often keeps a few days when refrigerated promptly in sealed containers. If you’re unsure about storage time or temperature, it’s safer to toss it, and when in doubt, follow food-safety guidance or ask a qualified professional.
If you’re cooking for a busy week, try doubling this batch and freezing two portions right away, it’s the closest thing chili has to a “future you” favor, and it keeps weeknight decisions simple.