
How to make caramel sauce easy comes down to two things: using the right method for your comfort level, and knowing what “normal” looks like while sugar changes color. If you’ve ever ended up with scorched caramel, gritty sauce, or a pan of hardened sugar, you’re in very good company.
Caramel feels fussy because it moves fast near the finish line, and small choices matter, pan size, heat level, even whether you stir. The upside is that once you understand the signals (color, smell, and how the bubbles behave), it becomes a repeatable weeknight skill, not a special-occasion gamble.
In this guide, you’ll get a reliable base recipe, a few smart variations, and a troubleshooting section that actually saves a batch. You’ll also see a quick table comparing methods, because choosing the right approach is half the battle.
What “easy” caramel sauce really means (and which method fits you)
There are two common ways to make caramel sauce at home: dry caramel (sugar only) and wet caramel (sugar plus water). Both can be easy, but they’re “easy” for different personalities.
Dry caramel (faster, a bit more intense)
- Best for: confident cooks, faster batches, deeper caramel flavor.
- Trade-off: sugar can color unevenly if heat runs hot or pan is thin.
Wet caramel (more forgiving, slightly slower)
- Best for: first-timers, anyone who wants a wider safety window.
- Trade-off: you wait for water to boil off before browning begins.
| Method | Time | Risk level | Flavor | My practical take |
|---|---|---|---|---|
| Wet caramel | 8–12 min | Lower | Clean, classic | Start here if you want “how to make caramel sauce easy” to actually feel easy |
| Dry caramel | 5–8 min | Medium | Deeper, toastier | Great once you trust your stove and pan |
Ingredients and tools that prevent common caramel disasters
Caramel doesn’t require fancy gear, but a couple choices reduce the chances of scorching or seizing.
- Granulated sugar: standard white sugar behaves predictably.
- Unsalted butter: lets you control salt, and salt matters more than people think.
- Heavy cream: creates a smooth sauce; warm it slightly so it blends more calmly.
- Medium-light saucepan: light interior helps you judge color; heavy bottom helps with heat evenness.
- Heatproof spatula or wooden spoon: for gentle stirring once dairy goes in.
- Instant-read thermometer (optional): helpful, but color and aroma still rule.
According to the USDA, hot sugar mixtures can cause serious burns, so it’s worth treating caramel like hot oil: keep kids and pets away, use long sleeves if you tend to splash, and don’t rush the pour.
How to make caramel sauce easy (wet method step-by-step)
This is the method I recommend for most home cooks because it buys you time. You’re still watching closely, but you’re not racing the clock from the first minute.
Base recipe (makes about 1 cup)
- 1 cup granulated sugar
- 1/4 cup water
- 6 tbsp unsalted butter, cut into pieces
- 1/2 cup heavy cream, warmed (not boiling)
- 1/2 tsp kosher salt, plus more to taste
- Optional: 1 tsp vanilla extract
Steps
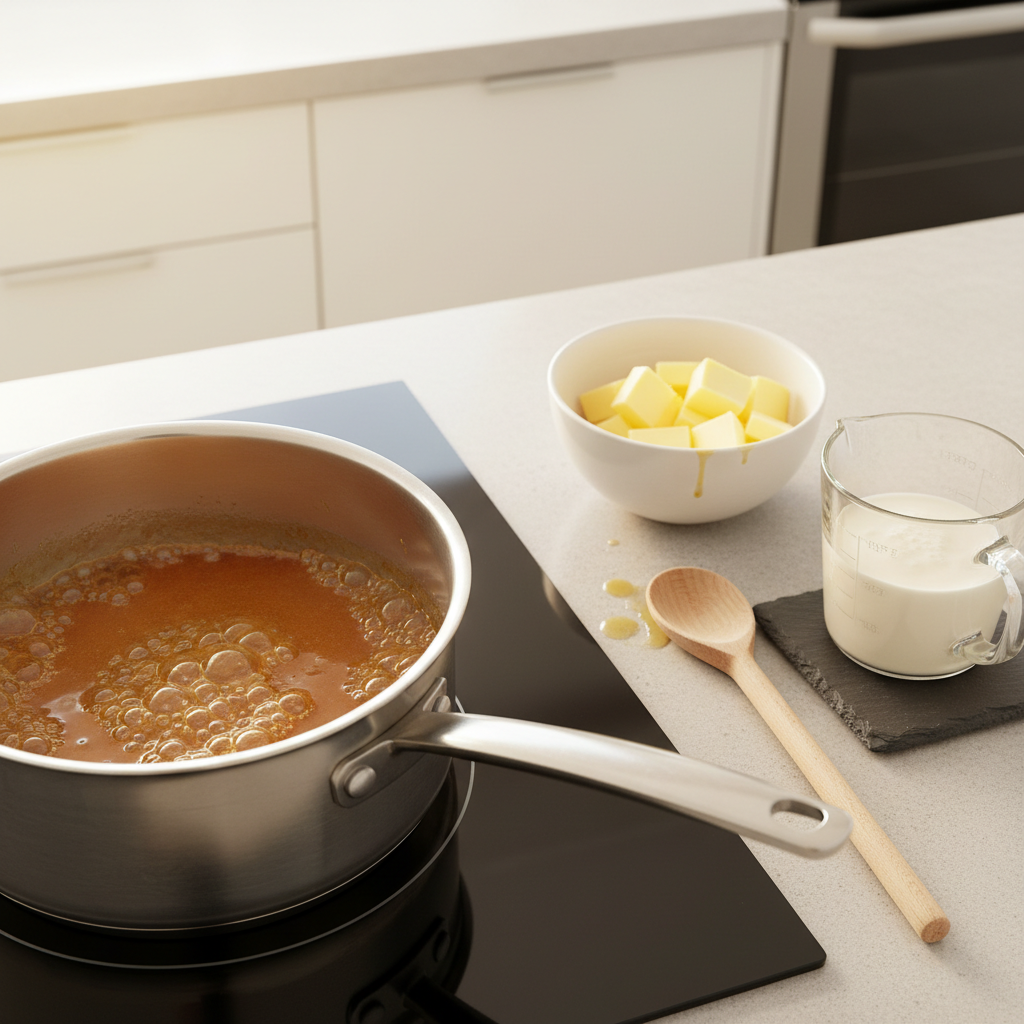
- Dissolve: Add sugar and water to a clean saucepan. Stir briefly just to moisten all sugar, then stop stirring.
- Boil: Bring to a steady boil over medium heat. If sugar crystals cling to the sides, brush them down with a damp pastry brush.
- Color watch: When it shifts from clear to pale straw, don’t walk away. Swirl the pan gently for even browning.
- Hit amber: When it turns a deep honey/amber (think copper penny, not espresso), remove from heat.
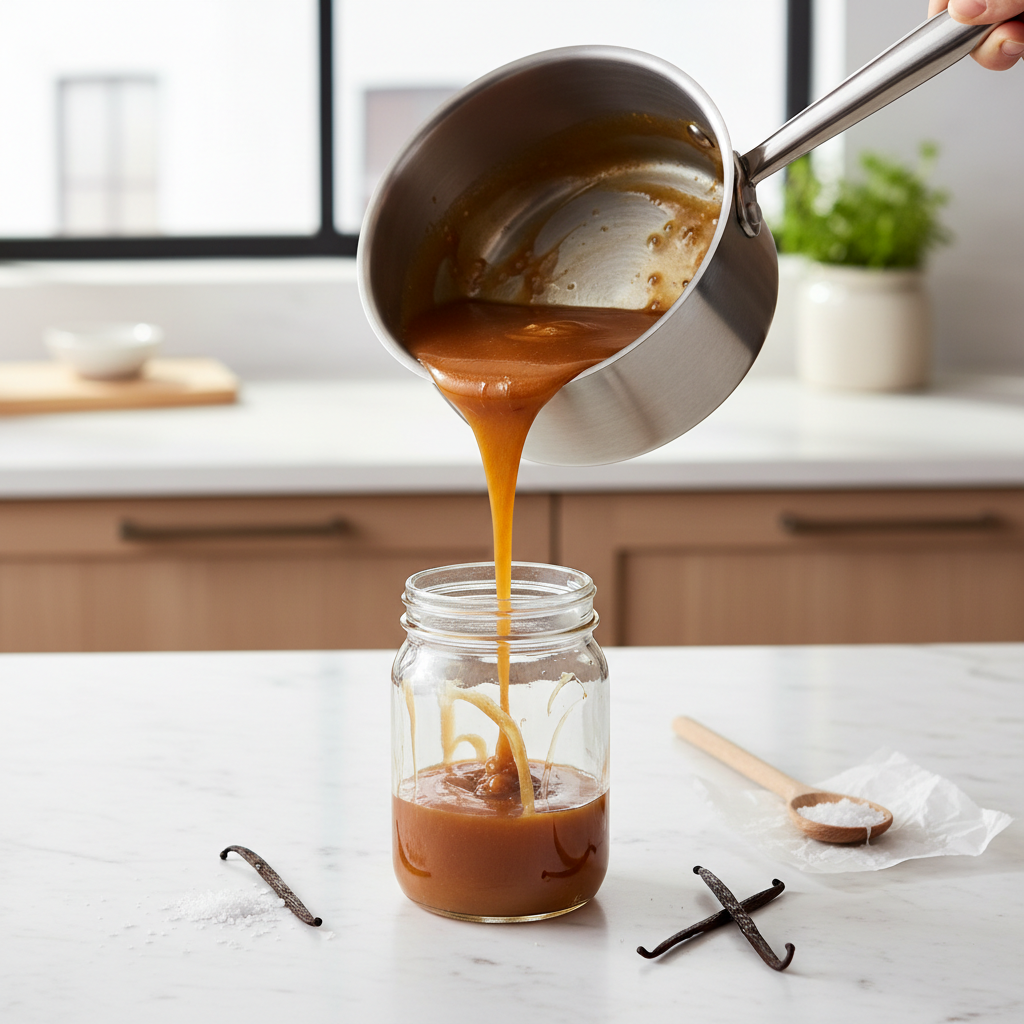
- Add butter: Whisk or stir in butter carefully. It will foam hard for a moment, that’s normal.
- Add cream: Slowly pour in warm cream while stirring. Expect vigorous bubbling. Keep your face back.
- Season: Stir in salt and vanilla. Taste once slightly cooled, then adjust salt.
If you’re here because you’ve searched “how to make caramel sauce easy” after a burnt batch, focus on this one cue: pull the caramel when it’s amber, not when it’s dark brown. It continues cooking from residual heat, and that’s where many batches cross the line.
Quick self-check: are you on track while cooking?
Caramel is less about exact minutes and more about recognizing a few reliable signals.
- Early stage: rapid clear bubbles, looks like boiling water.
- Mid stage: bubbles tighten and get slightly “thicker,” color turns pale yellow.
- Near finish: aroma shifts to toasted sugar, color deepens quickly, bubbling can look a bit slower and larger.
- Too far: sharp burnt smell, very dark color, smoke, or bitter taste.
A clean pan matters more than it sounds. Any stray grease, or a few sugar crystals stuck high on the sides, can encourage recrystallization, which is a common reason people think caramel is “impossible.”
Fixes and saves: grainy, seized, too thick, too thin
This section is the real comfort blanket. Many “failed” batches are one small adjustment away from being perfectly usable.
If it turns grainy (recrystallized)
- What it means: sugar crystals formed and spread through the syrup.
- Try this: add 2–3 tbsp water, return to medium heat, and cook until fully dissolved again. Avoid stirring while it boils.
- Next time: keep sides clean with a damp brush, and don’t stir after the initial dissolve.
If it seizes when you add cream
- What it means: the caramel cooled too fast, sugar hardened into lumps.
- Try this: return to low heat and stir gently until smooth. A tablespoon or two of extra warm cream can help.
- Next time: warm the cream and pour slowly.
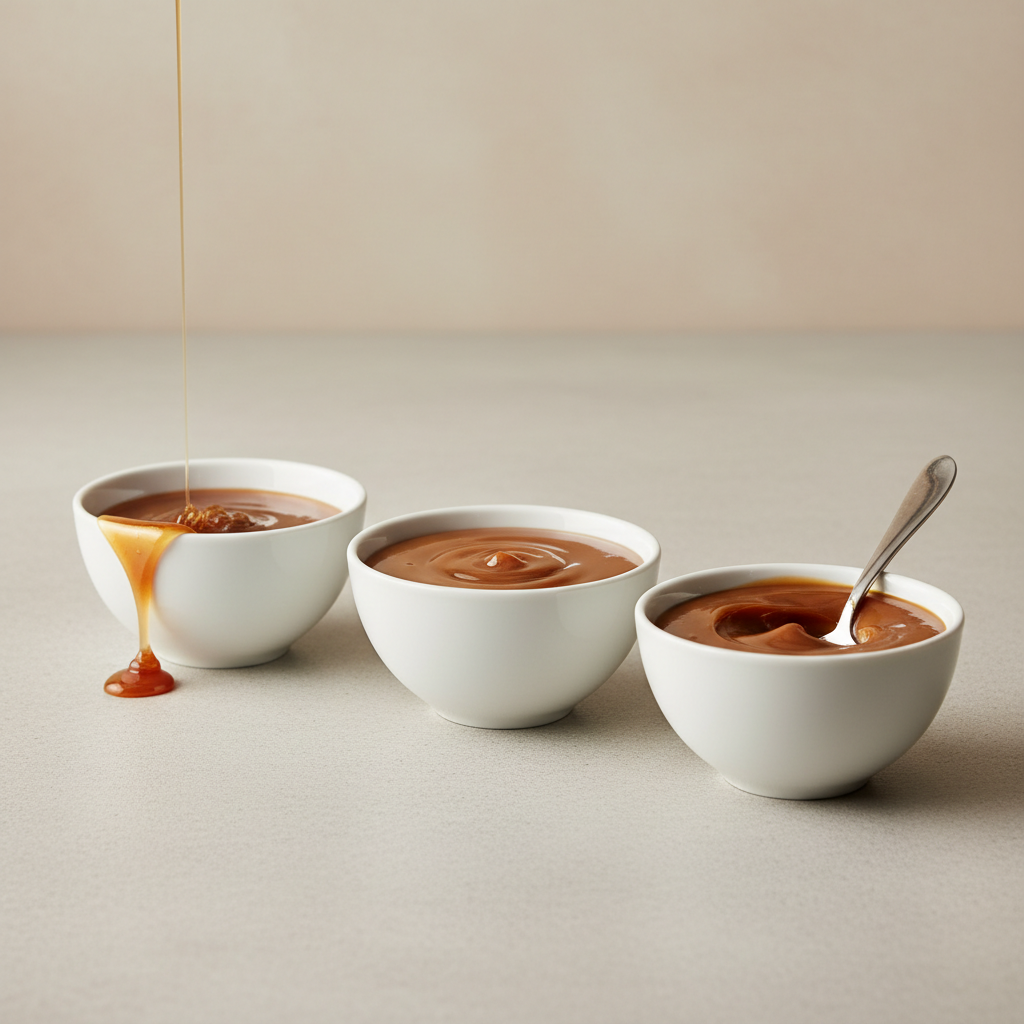
If it’s too thick after cooling
- Stir in warm cream 1 tbsp at a time, or warm the sauce briefly and whisk.
If it’s too thin
- Simmer 1–3 minutes to reduce, or cool longer. Caramel thickens noticeably as it cools.
Flavor variations that still stay “easy”
Once the base works, adding flavor is the fun part, but small additions can change texture. Add mix-ins after you finish the sauce and it cools for a minute so it’s still fluid but not violently bubbling.
- Salted caramel: add salt gradually, taste when warm (not piping hot). Flaky sea salt works as a finishing sprinkle.
- Vanilla caramel: stir in vanilla off heat for a rounder aroma.
- Bourbon caramel: add 1–2 tbsp bourbon off heat. It may smell sharp at first, it mellows as it sits.
- Cinnamon caramel: whisk in 1/4 tsp cinnamon. Start small; it can dominate quickly.
If you’re trying to keep the process simple, pick one add-in. Layering vanilla plus bourbon plus spices can taste great, but it also makes it harder to tell whether the base caramel is slightly burnt.
Storage, reheating, and safe handling
Caramel sauce holds well, which is another reason learning how to make caramel sauce easy pays off. You do one batch and get desserts all week.
- Storage: cool, then store in a lidded jar in the refrigerator.
- Reheat: warm in short microwave bursts (stir between) or in a saucepan over low heat with a splash of cream if needed.
- Safety: hot caramel can stick to skin and cause burns, so pour slowly and avoid tasting until it cools.
Practical serving ideas (so the jar doesn’t sit there)
Homemade caramel sauce earns its keep fast, and you don’t need a fancy dessert to justify it.
- Drizzle over ice cream, brownies, apple pie, or cheesecake
- Stir into coffee or a homemade latte (start with a teaspoon)
- Dip apple slices or pretzels for a quick snack
- Spoon over Greek yogurt with toasted nuts for a less-sweet option
Key takeaways (keep these by the stove)
- Choose wet caramel if you want a calmer learning curve.
- Stop stirring early, then rely on gentle swirling.
- Pull at amber; residual heat keeps cooking after you turn the burner off.
- Warm the cream to reduce seizing and splatter.
- Most “fails” are fixable with low heat and patience.
Making caramel at home stops being intimidating once you know what you’re looking for, and that’s really the point of learning how to make caramel sauce easy. Pick the wet method, watch for amber color, and keep your cream warm, you’ll get a smooth sauce you can use on everything from apples to ice cream.
If you want a low-stress first attempt, make a batch when you can give the stove your full attention for 10 minutes, then jot down what “your perfect amber” looked like in your kitchen lighting. That tiny note saves a surprising amount of guesswork next time.