
how to make peanut butter balls easy comes down to two things most recipes skip, getting the texture right before you roll, and giving the coating a setup plan so it doesn’t streak or crack.
If you’ve tried these before and ended up with dough that sticks to your hands, balls that won’t hold their shape, or chocolate that seizes and turns grainy, you’re not alone. Peanut butter brands vary, kitchen temps vary, and a “dump and stir” recipe can get messy fast.
This guide keeps it practical: a reliable base ratio, a quick “feel test” to know you’re on track, and a few realistic options depending on whether you want classic chocolate-dipped buckeye style, fully coated truffles, or a no-dip version for speed.
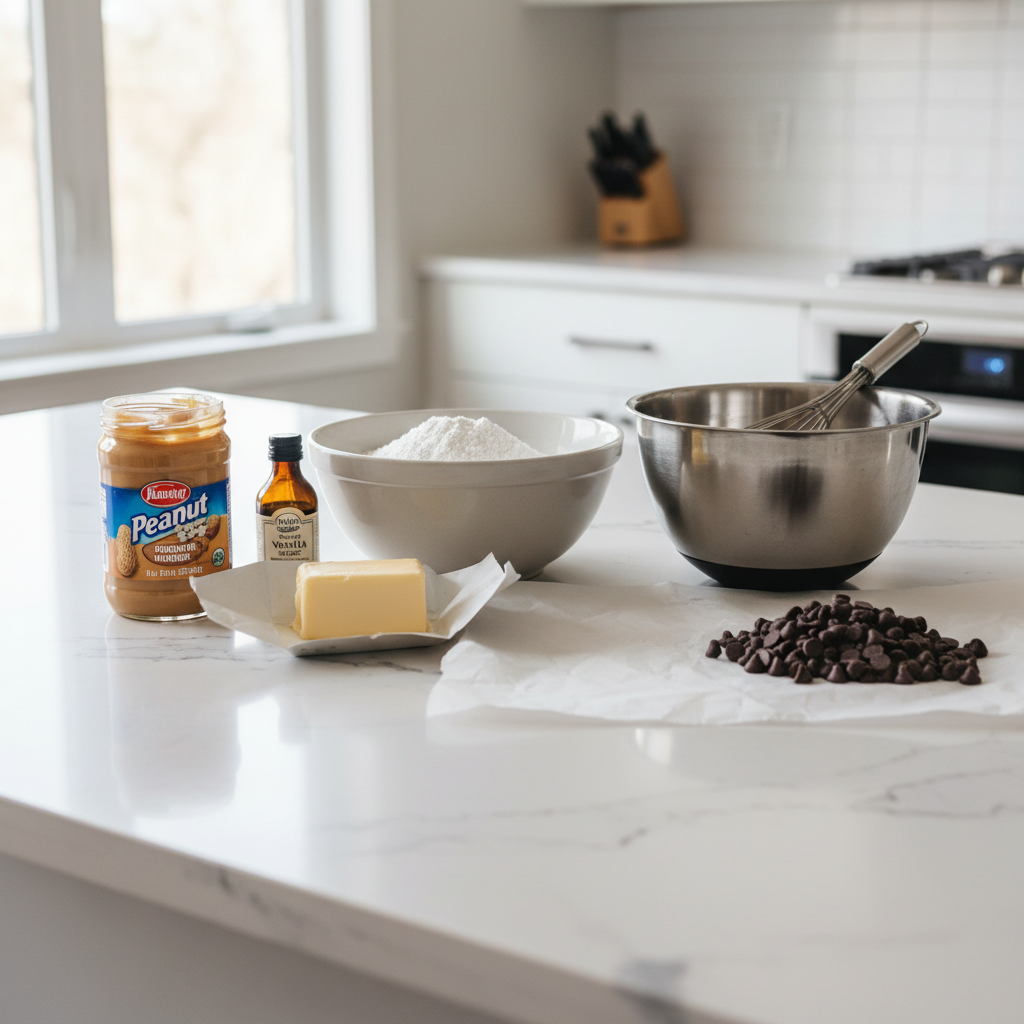
What you’ll need (and why each ingredient matters)
The ingredient list looks short, but each item has a job. Once you understand that, it’s much easier to adjust when your dough feels off.
- Creamy peanut butter: Provides fat and structure. Natural peanut butter (the kind that separates) can work, but often needs more powdered sugar or chill time to firm.
- Powdered sugar: Sweetens and thickens without grit. It’s the main “binder” that turns peanut butter into rollable dough.
- Butter (softened): Adds richness and helps the mixture set. Too much makes the dough softer and more melt-prone.
- Vanilla extract (optional): Rounds out flavor, especially if you’re using dark chocolate.
- Salt (optional but helpful): If your peanut butter is unsalted, a pinch makes the flavor pop.
- Chocolate for coating: Chocolate chips or melting wafers both work; wafers usually melt smoother with less fuss.
Key point: If you want to know how to make peanut butter balls easy every time, pick one peanut butter brand and stick with it until you learn your preferred texture.
The easiest base recipe (with a “texture target” you can actually feel)
This is a flexible, dependable starting point for about 24 to 30 one-inch balls.
- 1 cup creamy peanut butter
- 3/4 cup powdered sugar (plus a little extra if needed)
- 2 tbsp butter, softened
- 1/2 tsp vanilla extract (optional)
- Pinch of salt (optional)
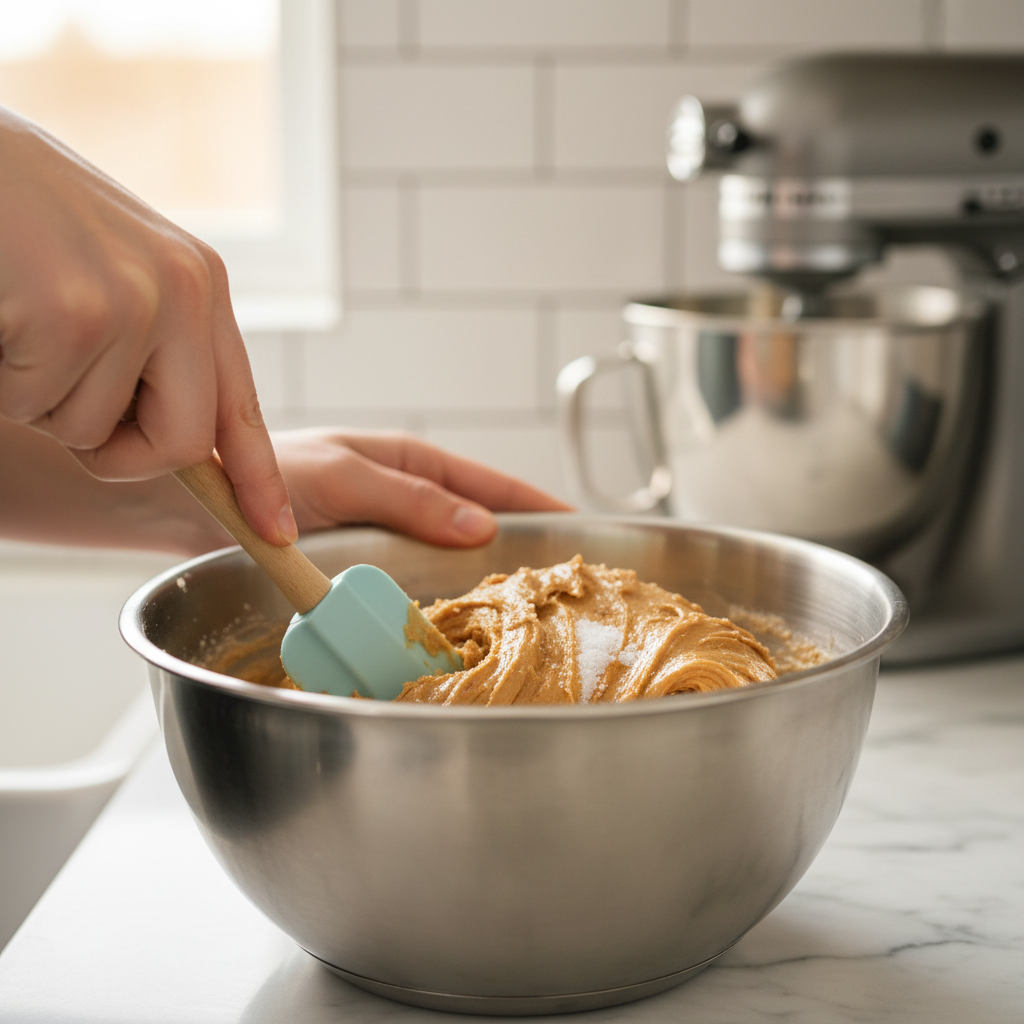
Texture target: After mixing, you should be able to pinch a small amount and roll it into a smooth ball in your palms with only light sticking. If it smears like frosting, it’s too soft. If it crumbles and won’t bind, it’s too dry.
Mix peanut butter and butter first until smooth, then add powdered sugar in 2 to 3 additions. Stir until you see the dough pull away from the bowl and look slightly matte, not shiny.
Why peanut butter balls go wrong (common real-kitchen reasons)
Most “failures” aren’t skill issues, they’re ingredient and temperature issues. Here’s what typically causes trouble.
- Too warm kitchen or warm hands: The dough softens, then everything sticks. A quick chill fixes most of it.
- Natural peanut butter variability: Oil content changes the ratio. Even within the same brand, jars can differ.
- Over-measuring peanut butter: Scooping a heaping cup adds extra fat and makes the dough greasy.
- Chocolate overheated: Chocolate can seize (turn thick and grainy) if it gets too hot or meets a little water.
According to USDA Food Safety and Inspection Service, perishable foods should not sit at room temperature for more than 2 hours (1 hour if it’s above 90°F). In most homes, peanut butter balls aren’t “risky” like raw meat, but the butter and warm chocolate setup time can push you into that zone, so chilling between steps is a smart habit.
Quick self-check: are you ready to roll, dip, and set?
Use this checklist before you start rolling. It saves time and prevents the classic “halfway through the tray, everything falls apart” moment.
- Dough feel: Roll one test ball. If it leaves a greasy film on your palms, add 1 to 2 tbsp powdered sugar and mix again.
- Shape hold: Place the test ball on a plate. If it slowly slumps, chill the whole bowl 15 minutes.
- Crumbly: If it won’t bind, mix in 1 tsp peanut butter at a time until it holds.
- Chocolate readiness: Your balls should be cold when dipping. Warm centers lead to streaky coating.
Small but important: Line a sheet pan with parchment before you start. It keeps cleanup easy and helps the chocolate release cleanly.
Step-by-step: how to make peanut butter balls easy (three practical methods)
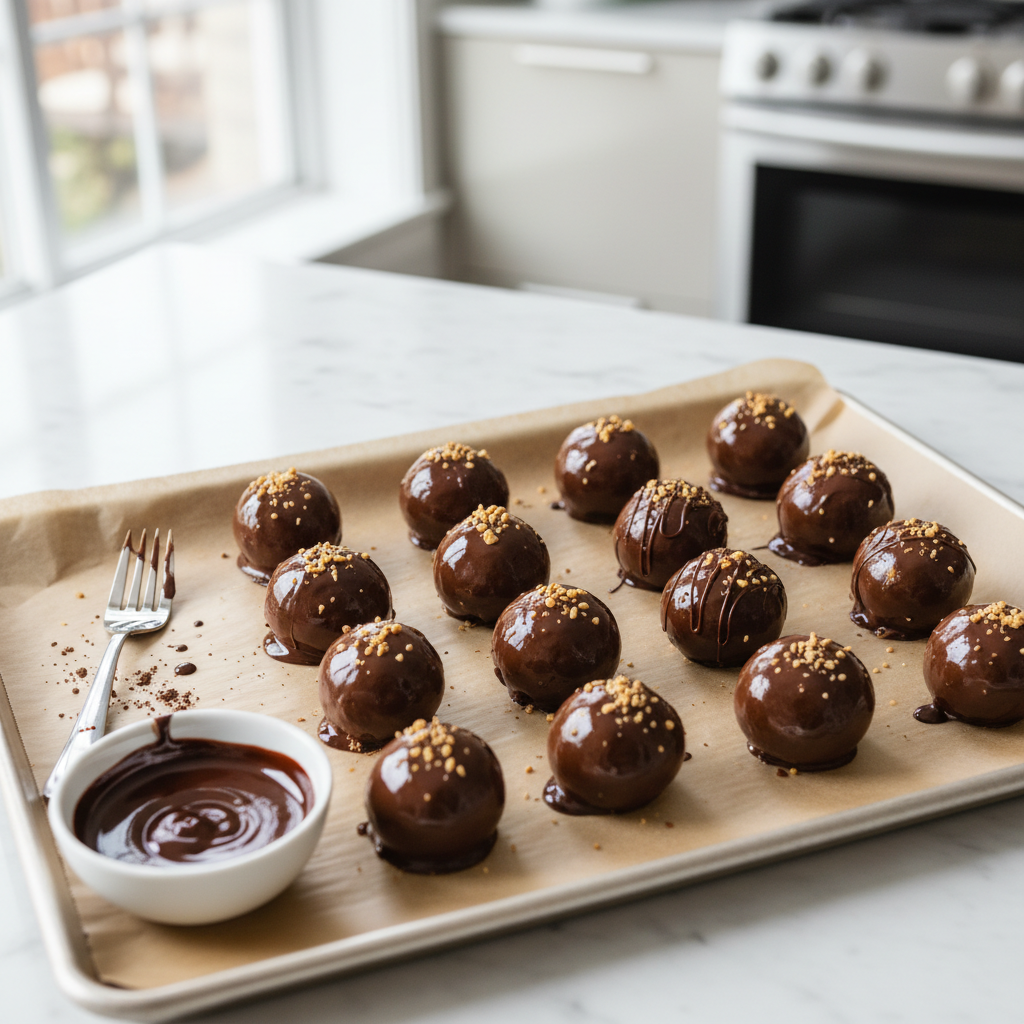
Method A: Classic chocolate-dipped (most popular)
This gives you the clean “truffle” look and the best snap.
- Roll dough into 1-inch balls, place on parchment-lined sheet.
- Chill 20 to 30 minutes until firm.
- Melt chocolate gently (microwave at 50% power in short bursts, stirring often).
- Dip with a fork, tap off excess, return to parchment.
- Chill 10 to 15 minutes to set.
Method B: Quick no-dip “drizzle” (fastest cleanup)
If you care more about speed than full coverage, this is the weeknight version.
- Roll and chill balls as usual.
- Drizzle melted chocolate over the top.
- Finish with flaky salt or sprinkles if you want a bakery feel.
Method C: Buckeye style (peanut butter top showing)
Dip only 2/3 of each ball, leaving a peanut butter “eye” on top. It’s forgiving, and it looks intentional even if your dipping skills feel shaky.
Chocolate coating that behaves (and doesn’t seize)
Chocolate issues are usually heat management. Keep it gentle, keep it dry.
- Use a dry bowl and tools: Even a small amount of water can make chocolate seize.
- Don’t rush microwaving: Short bursts, lots of stirring. Chocolate continues melting from residual heat.
- Optional texture helper: 1 to 2 tsp coconut oil or vegetable shortening can thin melted chocolate for smoother dipping. Many home cooks like this; some prefer pure chocolate flavor, so treat it as optional.
If your coating looks thick, stop heating and stir longer before adding anything. If it’s already grainy, switching to a fresh batch often saves more time than trying to rescue it.
Make-ahead, storage, and serving tips (so they stay neat)
Peanut butter balls are usually at their best once the center firms and the coating fully sets, which is why they’re a solid make-ahead treat.
- Fridge: Store in an airtight container, layered with parchment. Many batches hold up well for about a week, but texture can vary by ingredients.
- Freezer: Freeze on a tray, then transfer to a bag or container. Thaw in the fridge to reduce condensation on the chocolate.
- Serving: Let sit 5 to 10 minutes at room temp for the best bite, especially if your fridge runs cold.
According to FDA, people with peanut allergies should avoid peanut-containing foods and prevent cross-contact in kitchens. If you’re making these for a party, it’s worth labeling clearly and keeping utensils separate, even when the recipe feels “simple.”
Troubleshooting table (fixes you can do mid-batch)
Here’s the cheat sheet I wish every recipe included. This is where how to make peanut butter balls easy becomes realistic, because most of us adjust as we go.
| Problem | What it usually means | Fix |
|---|---|---|
| Dough is sticky and greasy | Too warm or too much peanut butter/fat | Add 1–2 tbsp powdered sugar, chill 15 minutes |
| Dough crumbles when rolling | Too dry | Mix in 1 tsp peanut butter (or softened butter) at a time |
| Balls flatten on the tray | Dough too soft | Chill longer, roll smaller, avoid warm hands |
| Chocolate is thick and won’t coat | Overheated or too viscous | Stir off heat, consider 1 tsp coconut oil, remelt gently |
| Chocolate turns grainy | Seized from moisture or overheating | Start a new batch, keep tools dry, use lower heat |
Key takeaways before you start
- Texture beats exact measurements: Mix, test-roll one ball, then adjust.
- Chill is your best tool: Cold centers make dipping cleaner and faster.
- Gentle heat for chocolate: Low power, frequent stirring, dry tools.
- Pick a method that matches your time: Dip, drizzle, or buckeye style all work.
Conclusion: a simple game plan that actually works
If you want how to make peanut butter balls easy without turning your kitchen into a sticky project, aim for a dough that rolls clean, chill before dipping, and melt chocolate slowly enough that it stays glossy. Make one test ball early, adjust the bowl, then roll the rest with confidence.
Make a batch this week, and next time you’ll know exactly how your peanut butter behaves, which is the real shortcut.