
how to make peda recipe mawa sweet is mostly about getting two things right, moisture control and patience on low heat, because peda turns grainy or greasy when the milk solids and sugar don’t bind the way you expect.
If you’ve tried once and ended up with a sticky paste, a crumbly dough, or something that tastes fine but feels “off,” you’re not alone, mawa (khoya) sweets are simple on paper and a little picky in the pan.
This guide keeps it practical, what to buy, how to cook it, how to tell when it’s done, and what to do if the mixture splits. You’ll also get a few variations for flavor and a storage plan that suits a typical U.S. kitchen.
What “mawa” is and why peda texture can be tricky
Mawa, also called khoya, is reduced milk solids. Think of it as milk cooked down until it becomes dense and fudgy, which is why peda has that rich dairy bite.
The tricky part is that mawa varies a lot by brand and freshness. Some is drier, some is moist, and some is already a bit granular. When you add sugar, it pulls moisture out, melts, then needs time to re-thicken into a smooth, shapeable mass.
According to USDA FoodData Central, dairy solids and sugars behave differently as heat drives off water, and that shift in moisture is exactly what you manage during peda cooking.
Ingredients and smart substitutions (U.S.-friendly)
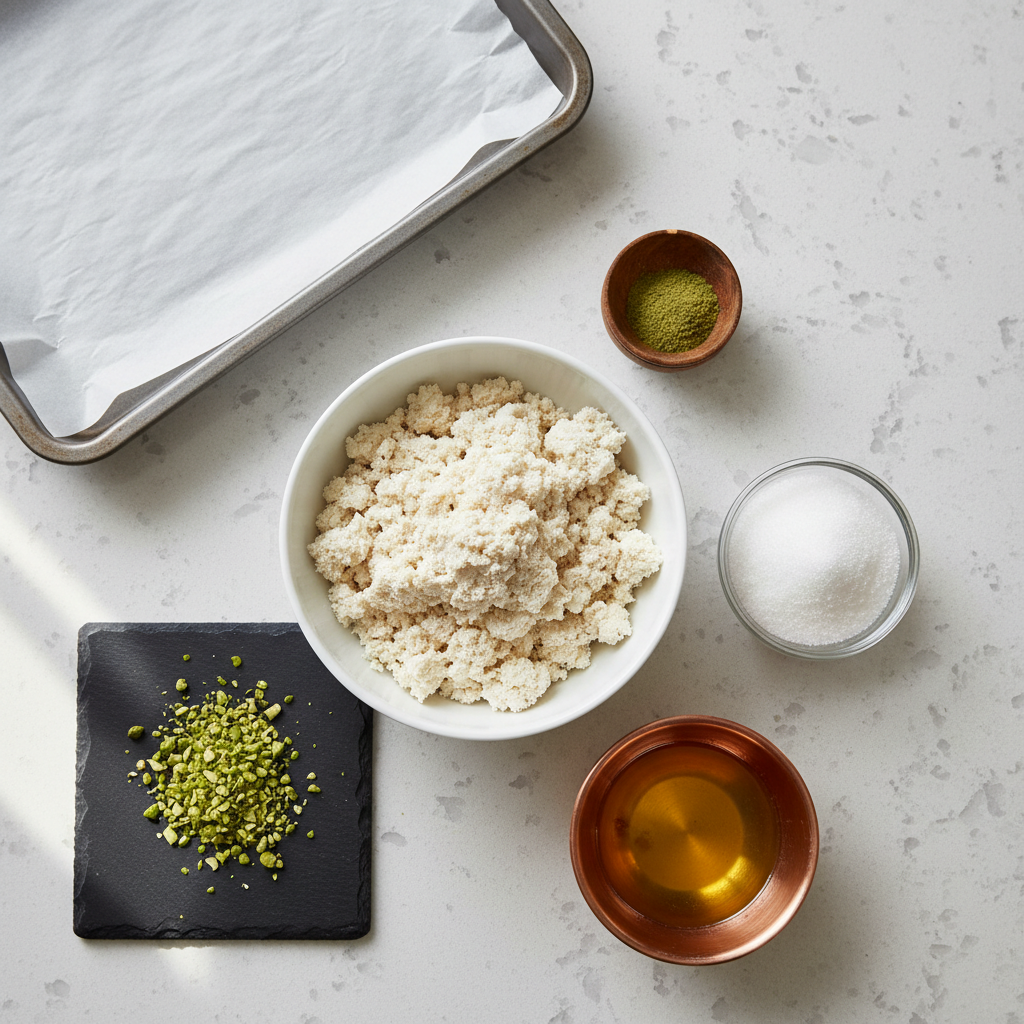
You can make excellent peda with a short list. The “extra” ingredients are mostly for aroma and finish.
Core ingredients
- Mawa (khoya): 14 oz (about 400 g), store-bought works well
- Sugar: 1/2 to 3/4 cup, adjust to taste
- Ghee: 1 to 2 tsp, helps prevent sticking and adds flavor
- Cardamom: 1/2 tsp ground, or freshly crushed pods
Optional but useful
- Milk powder: 1 to 3 tbsp, helpful if your mawa is too wet
- Saffron: a pinch, bloomed in 1 tsp warm milk
- Pistachios/almonds: chopped, for topping
Buying note: In many U.S. Indian groceries, you’ll see “khoya/mawa” in the freezer. Fresh tends to taste better, frozen tends to be more consistent for beginners.
Quick prep checklist before you turn on the stove
This is where many batches go sideways, not because the recipe is hard, but because the cook starts while the ingredients are still cold, wet, or clumpy.
- If mawa is frozen, thaw in the fridge, then bring close to room temp
- Grate or crumble mawa so it heats evenly
- Measure sugar, keep extra 1–2 tbsp aside for later taste adjustment
- Line a plate or tray with parchment for resting shaped peda
- Keep pistachios ready, topping is easiest while peda is still warm
Pan choice matters: a heavy-bottom nonstick skillet makes the process calmer, especially if you’re new to how to make peda recipe mawa sweet without scorching.
How to make mawa peda sweet: step-by-step method
You’re aiming for a soft dough that leaves the sides of the pan, looks slightly glossy, and doesn’t feel wet when you press a small bit between fingers.
1) Warm and loosen the mawa
- Heat a skillet on low, add ghee
- Add crumbled mawa, cook 3–5 minutes, stirring and pressing lumps
- Keep heat low, you want warming and smoothing, not browning
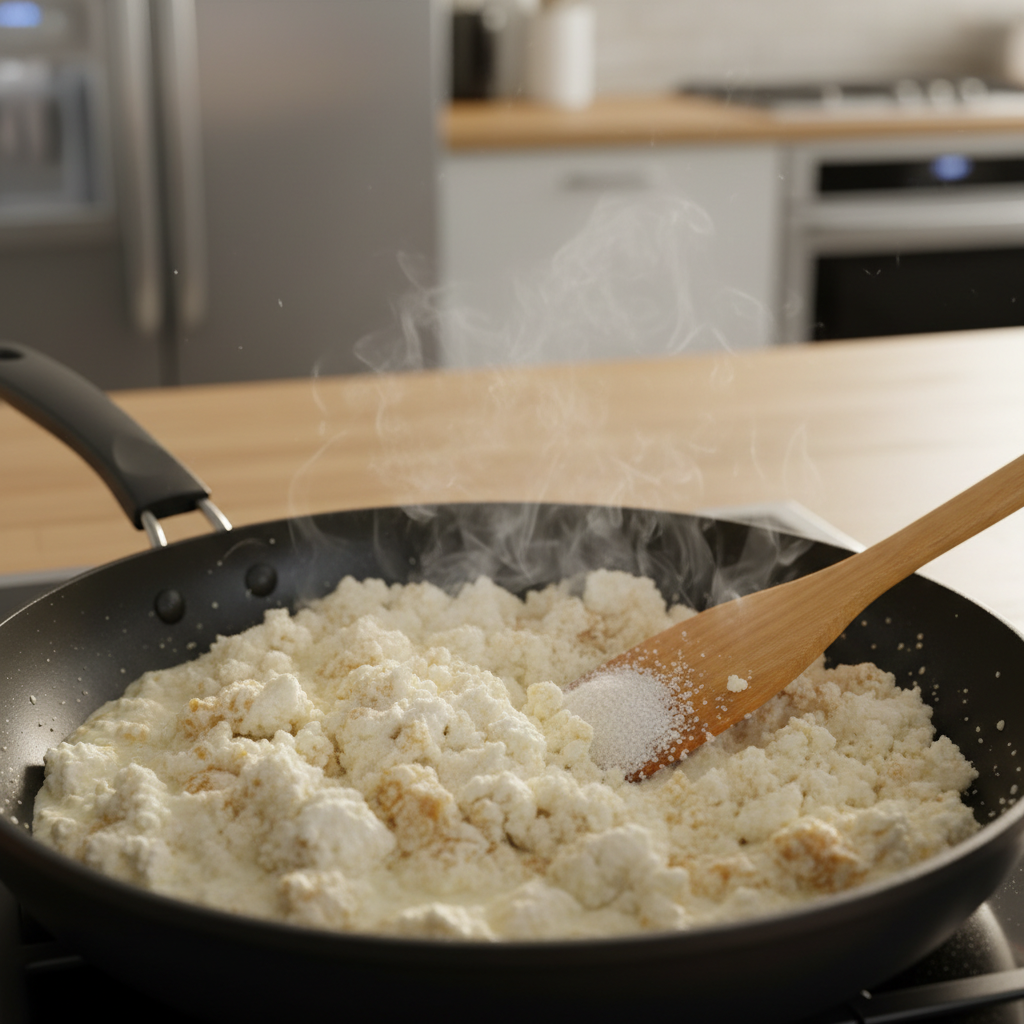
2) Add sugar and keep stirring through the “melt” stage
- Add sugar, mixture will loosen and look glossy or syrupy
- Stir steadily 4–8 minutes, scraping the bottom and edges
- When it thickens again, you’ll feel more resistance while stirring
3) Finish to the right endpoint
- Add cardamom (and saffron milk if using)
- Cook until the mass gathers together and leaves the pan sides
- Turn off heat, let it sit 5–10 minutes to cool slightly
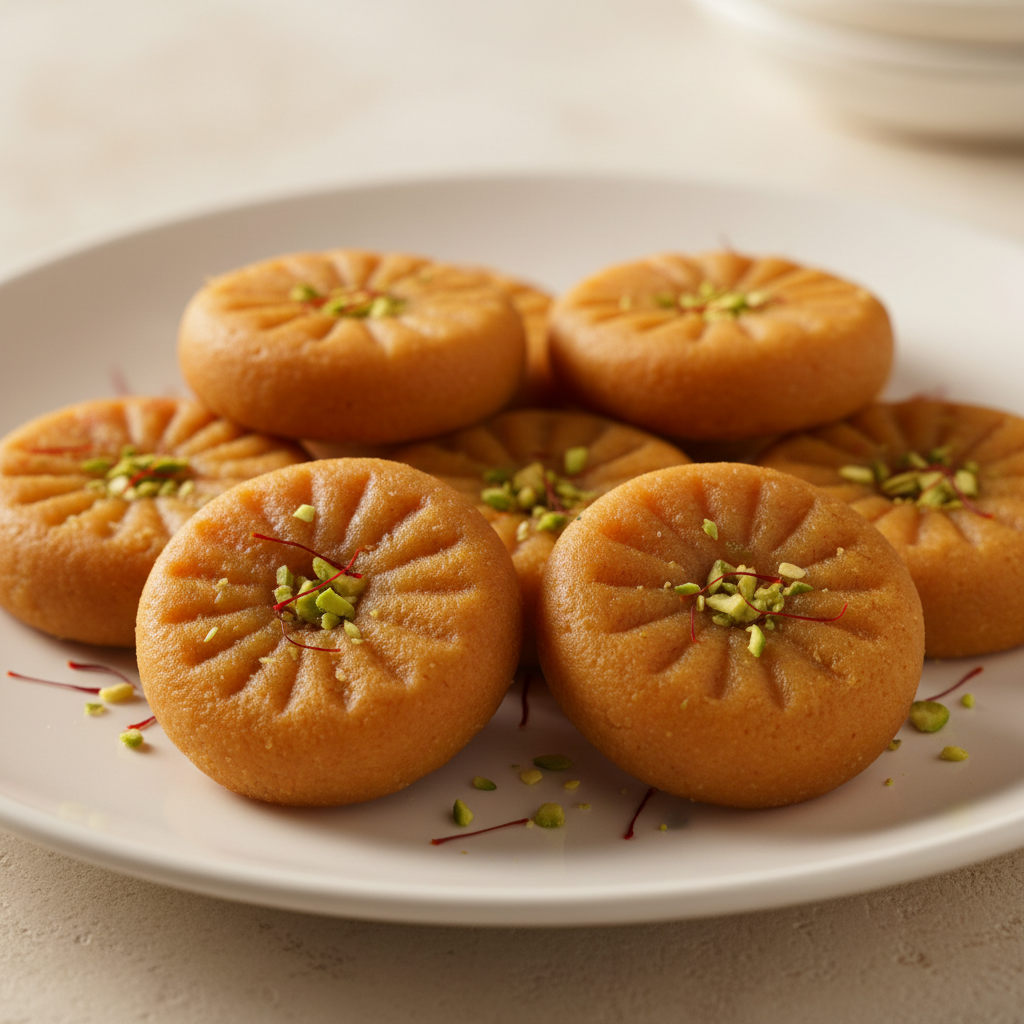
4) Shape and garnish
- When warm but touch-safe, pinch portions and roll into smooth balls
- Flatten gently into discs, press nuts on top
- Let set 20–30 minutes before packing
Key point: If you cook too long, peda can turn dry and crumbly. If you stop too early, it stays sticky and won’t hold shape. That “gathers into a ball and leaves the pan” moment is your best cue.
A simple doneness test (and what it tells you)
If you don’t trust timing, good, timing changes with every stove and every mawa brand. Use a quick test instead.
- Pan release: mixture pulls together and the pan looks cleaner after a stir
- Finger press: a tiny bit pressed between fingers feels pliable, not wet
- Shape test: roll a small ball, if it cracks deeply, it may be overcooked
Many home cooks trying how to make peda recipe mawa sweet get anxious at the syrupy stage and keep cooking on higher heat. Don’t. Low heat gives you control, and control gives you smooth peda.
Troubleshooting: fix grainy, greasy, sticky, or dry peda
This is the part people wish they had before their first batch. Most issues are fixable while the mixture is still warm.
| Problem | What it usually means | What to do |
|---|---|---|
| Grainy texture | Mawa was granular, or heat was a bit high | Lower heat, keep stirring longer, press lumps with spatula; add 1–2 tsp warm milk only if very dry |
| Greasy/oily separation | Overheating, fat separating from solids | Reduce heat immediately, stir continuously; sometimes 1–2 tbsp milk powder helps re-bind |
| Too sticky to shape | Undercooked, too much moisture | Return to low heat 2–4 minutes; optional 1 tbsp milk powder to firm |
| Dry and crumbly | Overcooked, moisture driven off too far | Knead in 1–2 tsp warm milk, rest 10 minutes, then reshape |
| Too sweet | Sugar ratio high for your taste | Next batch reduce sugar; for current batch, add a pinch of salt and a bit more cardamom |
One honest note: if the mawa tastes slightly sour or “off” before cooking, don’t try to rescue it with sugar, it’s usually a freshness problem, and the flavor carries through.
Flavor ideas and serving suggestions (without complicating the recipe)
Once you’re comfortable with the base, small tweaks feel worth it, and they don’t require new techniques.
- Kesar peda: saffron in warm milk, add near the end
- Pista peda: add 2–3 tbsp finely chopped pistachios into the warm mixture
- Rose note: 1–2 drops rose water off heat, too much tastes perfumy
- Festival finish: a tiny piece of edible silver leaf is traditional, buy food-grade only
Serving-wise, peda is happiest at cool room temperature. If you refrigerate, let pieces sit out 10–15 minutes so the texture softens again.
Storage, food safety, and make-ahead tips
Mawa is dairy, so storage matters. According to FDA guidance on dairy foods, perishable dairy-based items should not sit at room temperature for extended periods, and when in doubt, refrigeration is the safer call.
- Room temp: in many kitchens, 1 day is the comfortable limit, especially in warm weather
- Refrigerator: typically 5–7 days in an airtight container
- Freezer: up to 1 month, thaw in the fridge, then bring to room temp before serving
If you’re making them for a party, you can cook the mixture the night before, refrigerate, then shape the next day, though shaping is easiest when the dough is still slightly warm.
Key takeaways if you only remember a few things
- Low heat wins, the syrupy stage is normal and temporary
- Texture is about moisture, mawa brand and dryness change cook time
- Stop when it gathers, clean pan sides and a cohesive mass beat the clock
- Most mistakes are reversible with a touch of milk or milk powder
If you came here just wanting how to make peda recipe mawa sweet without drama, start with a smaller batch, take notes on how your mawa behaves, and the second round almost always feels easy.
If you try this method, pick one variation, cardamom-only or saffron, keep everything else plain, and you’ll learn the texture cues faster, then you can dress it up any way you like.